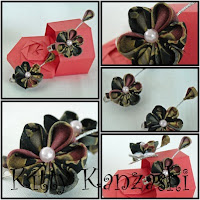
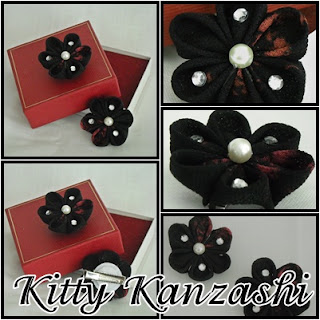
A kanzashi flower hairclip made from cotton which has a lovely speckled red pattern all over it. These kanzashi are perfect for as a gift for someone who loves all things Japanese or maybe you are looking for something to brighten your everyday outfit.
---Kanzashi Description---
* One of a kind
* Colour - red
* Size - 3cm (wide) by 5cm (height) by 1cm (depth)
* Mount - 3cm alligator clip
* Suitable for all hairtypes and hairstyles
If you have questions about this kanzashi, please feel free to contact me, I am happy help you
Did you like this kanzashi then why not have a look at my kanzashi hairbands http://www.etsy.com/shop/kittykanzashi?section_id=7338380

*** Tsumami Kanzashi ***
Once the pursuit of the royal maidservants, "tsumami kanzashi" or "pinching hair accessories" have long been worn for centuries by Japanese women to decorate their ornate hairstyles. Nowadays they are mainly worn on special occasions or by artists called maiko and geiko.
Each petal is made from one square of fabric carefully folded using tweezers and then delicately arranged onto a base to create the flower of choice. Precision is key with this tsumami technique and many hours of practice (and patience) is required to be able to produce these flowers. Howwever once mastered, this technique offers the artisan the freedom to create unique flowers which are as charming as the real object which will never wither away.
*** Other information ***
I accept custom orders for all sort of accessories (like fascinators, hairbands, brooches, etc), please convo me for requests
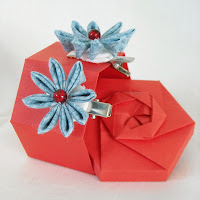
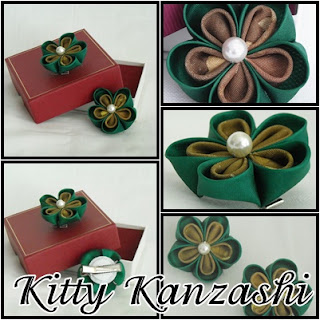
The little red box in the picture is for display purpose only and not for sale. If you would like the little red box with your purchase then convo me and I will give you my prices.
Once the pursuit of the royal maidservants, "tsumami kanzashi" or "pinching hair accessories" have long been worn for centuries by Japanese women to decorate their ornate hairstyles. Nowadays they are mainly worn on special occasions or by artists called maiko and geiko.
Each petal is made from one square of fabric carefully folded using tweezers and then delicately arranged onto a base to create the flower of choice. Precision is key with this tsumami technique and many hours of practice (and patience) is required to be able to produce these flowers. Howwever once mastered, this technique offers the artisan the freedom to create unique flowers which are as charming as the real object which will never wither away.
*** Other information ***
I accept custom orders for all sort of accessories (like fascinators, hairbands, brooches, etc), please convo me for requests
The little red box in the picture is for display purpose only and not for sale. If you would like the little red box with your purchase then convo me and I will give you my prices.