There is nothing like a bit of needle felting to remove negative feeling.
It is all the stabbing with the needle you see, it is very therapeutic (hehehehe)
So I caught the needle felting bug probably 7 or so years ago but lately it has been put on the back burner since I brought the sewing machine and went a little crazy with my fabric hoarding.....collecting.
I would dabble every now again but only to embellish things but this time I decided I needed a full on needle felting project.
Coin purse.
You can never have too many of them because they are so adorable! Also it is very handy for small change that I often need for buying milk for the office or sweeties.
I found my inspiration from a youtube video.
And I thought this would it be possible to make them smaller.
Well lucky youtube came through again.
So I picked my colour and picked my poly ball size but I had to order in the purse clasps. As always eBay comes to the rescue but I had to wait nearly 3 weeks for them to arrive.
In the meantime, I decided to start my stumpwork embroidery which I have posted and you can read here and here.
Anyway they arrived and like a child in a candy store I made my first felt ball. Left it over night to dry and then sewed the clasp in.
I have been meaning to try this type of embroidery out for ages but never got round to it.
However I finally found some time in my schedule and I'm going to give it a try.
I already had all the materials in my sewing room so starting it was not a problem.
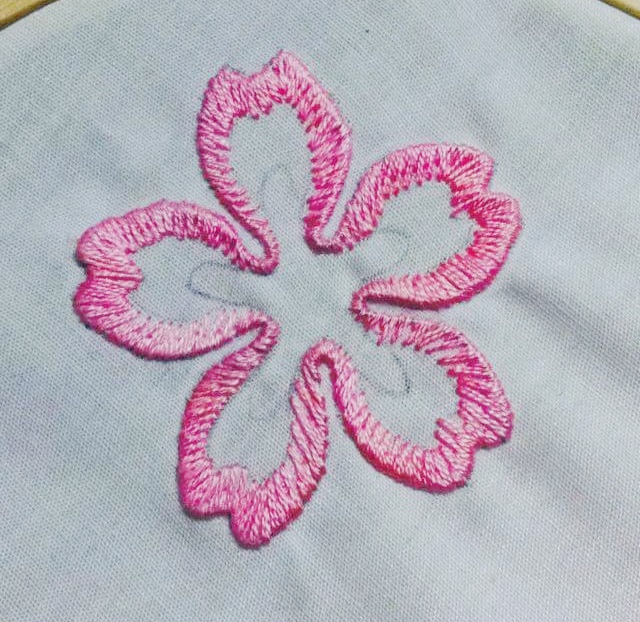
I also brought a couple of books on it to give me an idea of how to start. So I decided to start with a sakura or cherry blossom because I had all the floss colours.
So first thing first I need to couch some wire around the edge of the flower.
As I was sewing it down it became obvious that I should have used thinner wire. However now it is done we will continue.
Now to actually start the embroidery.
And after a couple more days I have finished one outline.