I have done it!
I have a rose bouquet and I love it.
This bouquet just has roses but I could have easily used other flowers which I will do next week I think but I will have to fit it in with making stock for an upcoming event called The Fine and Dandy Market at Crescent Arts Centre in Belfast.
This lovely bouquet will cost £150 and will be made-to-order as usual. So if you are a bride and would like your own rose bouquet then let me know!
A blog for my sewing, kanzashi and all other fun projects that I do. www.kittykanzashi.etsy.com
15 August 2013
14 August 2013
Kanzashi Update
Hello my followers ^_^
If you have been worried that I have forgotten all about tsumami kanzashi then let me reassure you that I have not.
In fact I have been doing a lot of product development and here are the work in progress photos.
Lots of roses and for what you may ask.
Well to make a lovely bouquet. I always wanted to make a rose bouquet as the real thing are so pretty and I wanted to create a tsumami version. Each rose used 15 squares of white cotton lawn as I wanted the rose to have that lovely soft look you get from real roses. Then I estimated I needed 19 roses to make my bouquet so after cutting, folding, and gluing 285 fabric squares which took two days to complete I finally had all the roses. To my surprise, I actually only needed 17 roses for the bouquet so I have two extra flowers to use to make a kanzashi or maybe a boutonnière.
I still need to decorate the underside of the bouquet but that is my task for today.
If you have been worried that I have forgotten all about tsumami kanzashi then let me reassure you that I have not.
In fact I have been doing a lot of product development and here are the work in progress photos.
Lots of roses and for what you may ask.
Well to make a lovely bouquet. I always wanted to make a rose bouquet as the real thing are so pretty and I wanted to create a tsumami version. Each rose used 15 squares of white cotton lawn as I wanted the rose to have that lovely soft look you get from real roses. Then I estimated I needed 19 roses to make my bouquet so after cutting, folding, and gluing 285 fabric squares which took two days to complete I finally had all the roses. To my surprise, I actually only needed 17 roses for the bouquet so I have two extra flowers to use to make a kanzashi or maybe a boutonnière.
I still need to decorate the underside of the bouquet but that is my task for today.
31 July 2013
Making a Dress - Apron/over dress
No sooner as I was finished with the my high waisted skirt I had to decide on my next project. Yeah I should have planned my projects but that would be far too easy and I like to keep my options open.
Inspiration
Anyway I had two dresses in mind.
Both adorable and I will make both of them but which one first???
So I asked my facebook friends and the decision was this one.
Hooray decision made now I need to make it.
Fabric
I do love cream as a colour but I wanted this dress to be more versatile and multi seasonal so it was going to be a dark colour.
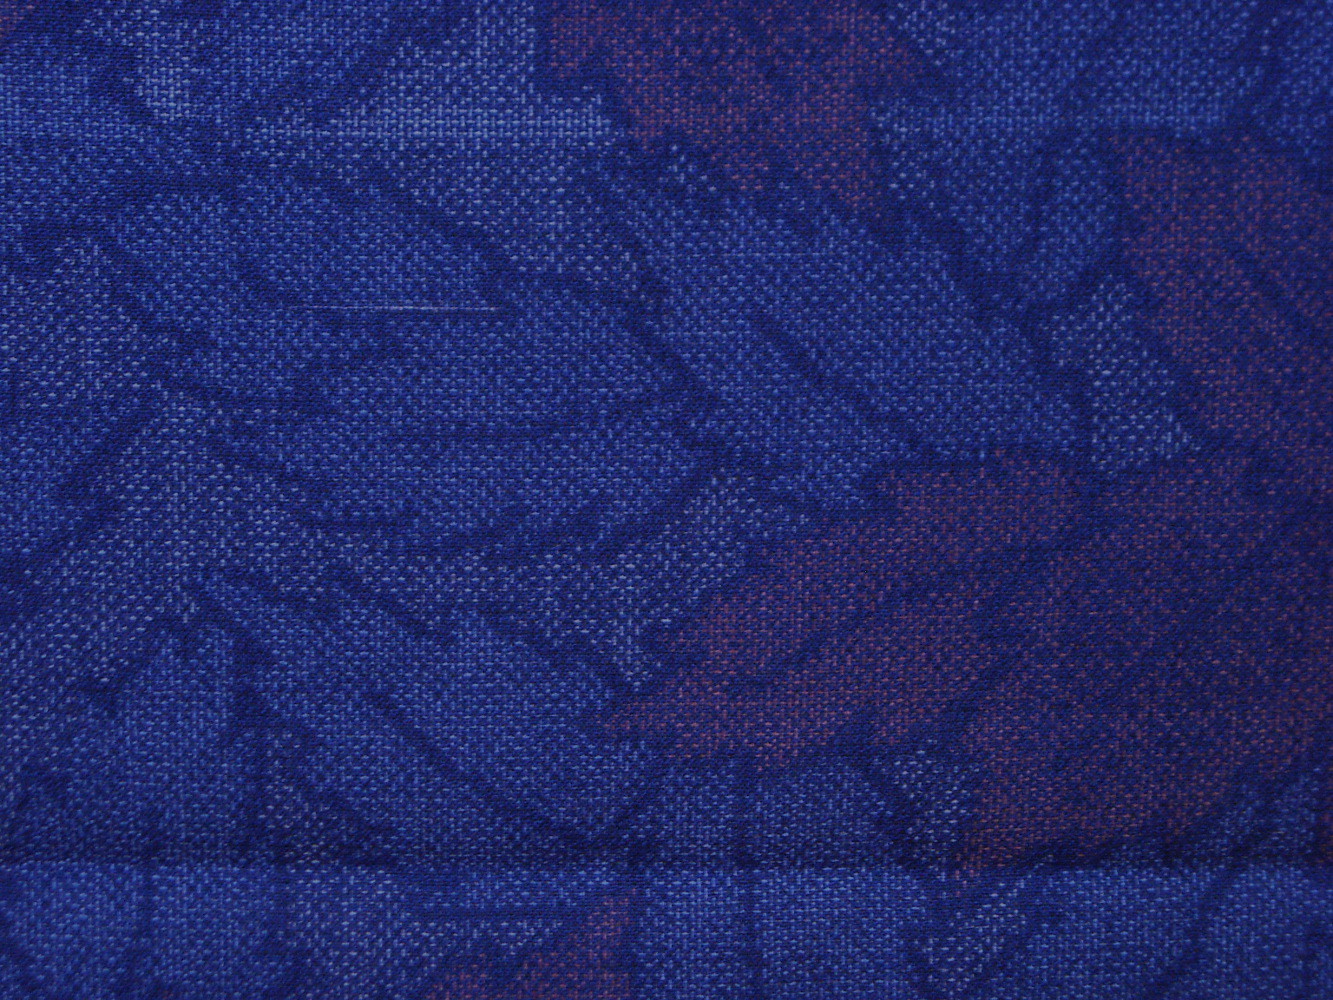
Now part of this "Making a Dress" series is to see what can be made from a kimono bolt because I like a challenge. Therefore the fabric I chose for this dress is a lovely navy blue wool fabric with a leaf pattern.
Here is a closeup of the pattern on the fabric.
I like the subtle pattern on this fabric because from a distance it looks just navy blue but only when you get closeup to the fabric you see the detail.
Design Process
I will be using the pattern from my lolita sewing book but as always I have to make sure the sizing and pattern work.
The skirt is simple enough but the bodice was the part that I was concerned with because I am not a standard Japanese size.
Front
Side
Back
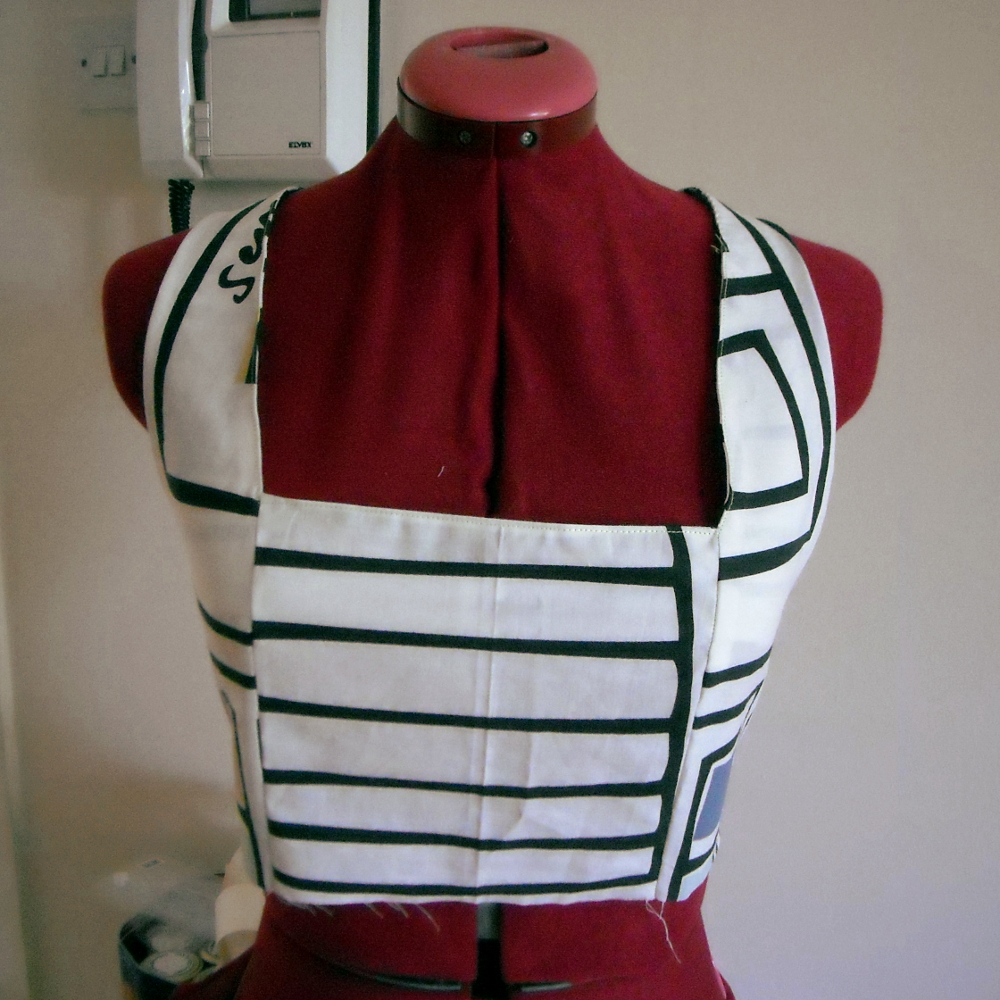
There were two areas that I was concerned with. First the back dart was just not right, it made the bodice poke out.
That will have to go and then there is the gap at the front.
Now this could be caused by me pulling on the fabric too much when I am edge stitching or maybe the pattern needs to be altered again. Well it is better to be safe then sorry so I will alter the bodice a little.
Construction
So time to get cutting.
Of course I was muttering measure one, measure twice and cut. Although for me I had to measure a few more times time this is not a standard width of fabric.
Anyway I had to bit the bullet and I eventually cut the fabric into the required lengths for each of my pieces
So in no time I completed the bodice. Looking good around the front.
And so does the back.
Now to tackle the skirt and the 8 metres strip of fabric that will be turned into 2 metres of ruffles for the bottom of the skirt. Oh my god!!! I can not tell you how annoyed and how much I swore at the ruffles. It took me one and half days to get ruffles hemmed and then ruffled. Never again will I use this fabric to create ruffles. It was insanely hard because it completely slip my mind that thicker the fabric the harder it would be to gather. Oh well, I have started so I have to finish it. It took me 4 hours to gather just under 8 metres of ruffles into 2 metres but I did it.
So the following day I managed to complete the dress.
Here is the front.
And the back.
Yep this dress has pockets!
And it has matching buttons.
I am very happy with the results. It pretty much turned out how it should and apart from the difficulty of the ruffles it was pretty easy to make.
Inspiration
Anyway I had two dresses in mind.
Both adorable and I will make both of them but which one first???
So I asked my facebook friends and the decision was this one.
Hooray decision made now I need to make it.
Fabric
I do love cream as a colour but I wanted this dress to be more versatile and multi seasonal so it was going to be a dark colour.
Now part of this "Making a Dress" series is to see what can be made from a kimono bolt because I like a challenge. Therefore the fabric I chose for this dress is a lovely navy blue wool fabric with a leaf pattern.
Here is a closeup of the pattern on the fabric.
I like the subtle pattern on this fabric because from a distance it looks just navy blue but only when you get closeup to the fabric you see the detail.
Design Process
I will be using the pattern from my lolita sewing book but as always I have to make sure the sizing and pattern work.
The skirt is simple enough but the bodice was the part that I was concerned with because I am not a standard Japanese size.
Front
Side
Back
There were two areas that I was concerned with. First the back dart was just not right, it made the bodice poke out.
That will have to go and then there is the gap at the front.
Now this could be caused by me pulling on the fabric too much when I am edge stitching or maybe the pattern needs to be altered again. Well it is better to be safe then sorry so I will alter the bodice a little.
Construction
So time to get cutting.
Of course I was muttering measure one, measure twice and cut. Although for me I had to measure a few more times time this is not a standard width of fabric.
Anyway I had to bit the bullet and I eventually cut the fabric into the required lengths for each of my pieces
So in no time I completed the bodice. Looking good around the front.
And so does the back.
Now to tackle the skirt and the 8 metres strip of fabric that will be turned into 2 metres of ruffles for the bottom of the skirt. Oh my god!!! I can not tell you how annoyed and how much I swore at the ruffles. It took me one and half days to get ruffles hemmed and then ruffled. Never again will I use this fabric to create ruffles. It was insanely hard because it completely slip my mind that thicker the fabric the harder it would be to gather. Oh well, I have started so I have to finish it. It took me 4 hours to gather just under 8 metres of ruffles into 2 metres but I did it.
So the following day I managed to complete the dress.
Here is the front.
And the back.
Yep this dress has pockets!
I am very happy with the results. It pretty much turned out how it should and apart from the difficulty of the ruffles it was pretty easy to make.
18 July 2013
Making a Dress - Decision to make
My timing has been messed up this month for "Making a Dress" because of a delay with postage of the last project so I have only a week to decide which one of the following I should make.
Should I make the dress on the left which is a sort of overdress that ones wears over another dress/outfit like an apron or the one on the right which is a empire line/emily temple style dress.
I am torn between the two as the one on the left looks very cute and I can use it to co-ordinate with other things in my lolita wardrobe.
But the one on the right would be wonderful for the summer and it is a nice for a casual lolita dress.
What do you think?
9 July 2013
Making a Dress - High Waist Skirt
Sorry for the delay with this post but I had trouble with post because I was waiting for supplies to arrive.
Anyhow I am not quite making a dress this time but it is still sewing.
Inspiration
Since receiving my lolita sewing mooks I have been dying to making something from them and I have decided to make the skirt in this picture.
Fabric
So the fabric this time is this one.
What is special about this fabric is that it is actually a kimono bolt and I was very tempted to turn it into a kimono because I always wanted a checkered kimono but alas my desire for a classic style lolita skirt was more important so it will be turned into skirt.
Design Process
As with all Japanese sewing mooks they give instructions on how to draft the patterns when I noticed on thing. The waist measurements are a little bit too small for me, in fact only 4cm too small so that needed to be altered.
Then after I cut out the first piece it dawned on me that the pattern may be too wide for the fabric. So I did a bit of calculation and oh dear it was. This meant I would need to alter the pattern more then I wanted but I do not think it will affect the overall look.
Fingers crossed!
Construction
So time to cut the fabric eeeekkkkkkkkkkkkkkk
No turning back now is there.
I tried my best to be as economical with the fabric as possible because I wanted some left to make an accessory.
I think there is just over a metre of the fabric left which is more then enough.
Now the pieces are cut, it is time to put it all together.
Fortunately most of the construction was pretty straightforward. The only thing that was new in this dress making is that I will be inserting my first ever concealed zip into a garment. Actually it is the first zip I have every inserted. I have watched plenty of YouTube videos and read a lot of articles on how to insert them so they are not unknown to me however there is always a bit of hesitation when it comes to the real thing.
The biggest surprise for me in this skirt is adding on the frills. Who would have thought adding 2 layers of frills would take a whole Sunday afternoon! So much for the zip being the most complicated thing. It also didn't help that my sewing machine decided to have a hissy fit just as I was about to sew the second layer. Ooooooo that did not make me happy.
Anyway here is the finished skirt!
I am very happy with the result! I was a bit worried that the extra seams at the front and back (due the width constraint of the fabric) would make the skirt look odd but it didn't so hooray. Now I need a nice blouse to go with it.
Anyhow I am not quite making a dress this time but it is still sewing.
Inspiration
Since receiving my lolita sewing mooks I have been dying to making something from them and I have decided to make the skirt in this picture.
It is so cute and frilly! Plus it fit nicely with my existing wardrobe of work blouses although I do need to make a proper lolita blouse.
So the fabric this time is this one.
What is special about this fabric is that it is actually a kimono bolt and I was very tempted to turn it into a kimono because I always wanted a checkered kimono but alas my desire for a classic style lolita skirt was more important so it will be turned into skirt.
Design Process
As with all Japanese sewing mooks they give instructions on how to draft the patterns when I noticed on thing. The waist measurements are a little bit too small for me, in fact only 4cm too small so that needed to be altered.
Then after I cut out the first piece it dawned on me that the pattern may be too wide for the fabric. So I did a bit of calculation and oh dear it was. This meant I would need to alter the pattern more then I wanted but I do not think it will affect the overall look.
Fingers crossed!
Construction
So time to cut the fabric eeeekkkkkkkkkkkkkkk
No turning back now is there.
I tried my best to be as economical with the fabric as possible because I wanted some left to make an accessory.
I think there is just over a metre of the fabric left which is more then enough.
Now the pieces are cut, it is time to put it all together.
The biggest surprise for me in this skirt is adding on the frills. Who would have thought adding 2 layers of frills would take a whole Sunday afternoon! So much for the zip being the most complicated thing. It also didn't help that my sewing machine decided to have a hissy fit just as I was about to sew the second layer. Ooooooo that did not make me happy.
Anyway here is the finished skirt!
I am very happy with the result! I was a bit worried that the extra seams at the front and back (due the width constraint of the fabric) would make the skirt look odd but it didn't so hooray. Now I need a nice blouse to go with it.
11 June 2013
Floral Kusudama Kanzashi - Pastel Pink and White
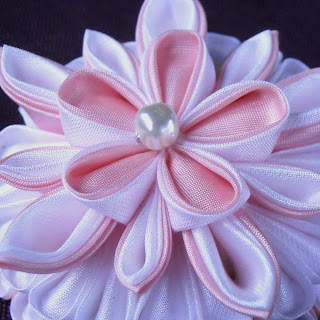
A wonderful floral kusudama kanzashi which is perfect for the summer days.
*** Kanzashi Description ***
* Colour - pastel pink and white.
* Size - 7cm (diameter) by 3cm (height).
* Mount - alligator clip.
* Suitable for all hairtypes and hairstyles.
* Suitable for Vegan.
* Customisable.
Kusudama kanzashi are just a delight to make and this one is no exception. Do not be fool by this elaborate floral kanzashi, this kanzashi is as light as a feather so you do not have to worry about it pulling on your hair or slipping out while you are wearing it. In fact you can wear this kanzashi all day without any incident.
If you are interested a customising your kanzashi colour then please send me a convo and I am sure I can help you.
You can buy this kanzashi here https://www.etsy.com/uk/listing/153705479/floral-kusudama-kanzashi-pastel-pink-and?ref=shop_home_active
10 June 2013
Making a Dress - Black Lolita Dress (supplement)
So my dress is complete but it is missing something??
That is it, a shirt/top to wear with the dress. Now I have a couple of shirts which could work.
However they are long sleeved shirts which is great at the moment but what if the weather gets warmer. And with the current weather that I have been experiencing I would like something a bit shorter.
So the solution has to be a dickey. Yes they look a bit silly on their own but with a dress or a jumper it is great.
Here is what I planned.
A little peter pan collar dickey.
And using the same white cotton lawn from my regency dress I made the dickey.
I also made a couple of accessories to jazz up the dress. One is a big bow with a rose on it and the other one is a origami butterfly. They are attached to snap clips so they can attached onto the dress as you see or if I have a frilly shirt then I could just use them as hair accessories.
That is it, a shirt/top to wear with the dress. Now I have a couple of shirts which could work.
However they are long sleeved shirts which is great at the moment but what if the weather gets warmer. And with the current weather that I have been experiencing I would like something a bit shorter.
So the solution has to be a dickey. Yes they look a bit silly on their own but with a dress or a jumper it is great.
Here is what I planned.
A little peter pan collar dickey.
And using the same white cotton lawn from my regency dress I made the dickey.
I also made a couple of accessories to jazz up the dress. One is a big bow with a rose on it and the other one is a origami butterfly. They are attached to snap clips so they can attached onto the dress as you see or if I have a frilly shirt then I could just use them as hair accessories.
Subscribe to:
Posts (Atom)