Showing posts with label hanfu. Show all posts

10 January 2018

Crafting and Sewing Review 2017

Hello all.

Things have been very busy since I last posted in October 2017 and unfortunately my blogging slipped.

However it is a new year and I will try my best to keep you up to date.

But before I do, I thought it would be be nice to summarise my year.

March 2017 - Lolita Apron Dress


April 2017 - Lolita Sack OP/Coat


May 2017 - Modern Jeogori and Hanbok


July 2017 - Qi-Lolita Overdress


August 2017 - Song Trousers, Hanfu top and Jacket plus Simple White Underskirt


September 2017 - Simple Black Underskirt, Sakura JSK


October 2017 - Stumpwork sakura and Wet Felting coin purse


November 2017 - More Wet Felting Coin purse

A post shared by Kitty Kanzashi (@kittykanzashi) on


December 2017 - Lolita Striped Brown JSK


Not too bad considering since I only sew on the weekends.

I think will continue to complete a sewing or crafting project per a month so as it is now January, I think it is time to look at my to do list and make another dress!

5 August 2017

Making a dress - Hanfu top

Inspiration

So I have the trousers and the jacket but now a top would be nice.  Of course it is is a nice day a strapy top could be used which would mimic the wraparound top nicely.  However what about the colder days?

There I would a proper top or shirt in my work world wardrobe.

Design

Luckily there is a pattern for this.

https://torguqin.wordpress.com/2010/07/17/ganlings-shuhe-duanda-patterns/

Okay it is not correct for the period but then again I am not going for historical accurately here.

I had to tweak a little around the shoulder area because I learned from the jacket that I have wider shoulders then the patterned allowed.


Ever the hoarder of fabric now, I had some cream polycotton lying around.


Construction

I decided to tackle this in a serious of rectangles and then make the adjustments for the collar and sleeves once the fabric is all sewn in place.  This will save time in figuring out how long each piece of fabric has to be.


Now lets attached the front overlap to the main body.


Then the sleeves.


Now to taper the sleeves to the final shape.


Now to play with the collar and front.


Now to sew the sides and sleeves and add a collar and we are done.  


If you are wondering how I finished the seams on the body, I flat-lined them.

Finished

I don't know why I did not take any pictures of it when it is finished but here it is in action with my hanfu suit as I am going to called it.


Conclusion

I know I made the top for winter but it is still a bit too thin for my liking.  So this is now a summer top.

It is also on the see through side so I will need to wear a top inside as well.  Yeah not quite turning out as planned I have to admit but it was a good exercise and now I know what fabric I need to aim for in the future.  Thick cotton!

I do love the long and flowing outline of this outfit.


Will need to make the trousers shorter as they are a bit too long for office wear but are probably the correct length for the style.

Now when will I find the time to wear it??


Making a dress - Hanfu Jacket and matching trousers

Inspiration

For some reason, I went from making a simple underskirt to making a jacket for my Song outfit.  Yeah my mind was being very indecisive but once it settled on the the jacket I was happy to follow through.

Looking at my previous inspiration pictures, it had to be a long jacket.....very long and of course long sleeves.

And at the same time I thought I might as well make some matching trousers

Design

I decided to play it safe for the jacket and use one that I found on pinterest.

https://tieba.baidu.com/f?kz=675958102

Looks simple enough!  I did a bit of measuring and found out that the sleeves would have been a bit too long for practical officewear so I chopped of 10cms or so off.

Also due to fabric constraint, I had to shorten the jacket by 30 cms as I only had 222cm of fabric left.  Opps but as you will see later it is probably for the best.

Just need to draw it onto my fabric.


Construction

As always cutting the fabric is scary.


Man the design is simple but finishing the seams took forever because the material was so thick and heavy.  I really need to find a better thimble.


And then there is the collar.

It should be cut out in one piece but alas I didn't have enough material so what I did instead was make it up with three strips.  I made sure the pinstripes matched up so it is not too bad.


The construction of the trousers is the same as the previous one.

Finished

At first I was very pleased.  I love the long outline.


BUT something was not right about the shoulder area.  It was as if something was pulling on it even though it was not tight.

Maybe I didn't make it loose enough?

Conclusion

Not bad but definitely need to make the armholes and the chest wider so it drapes better but still it is a good outfit.

However I will need to reserve it for non-windy days or it will flap everywhere!

Making a Dress - Song hanfu trousers part two

Now I have a pair of undertrousers, I now need some over trousers.

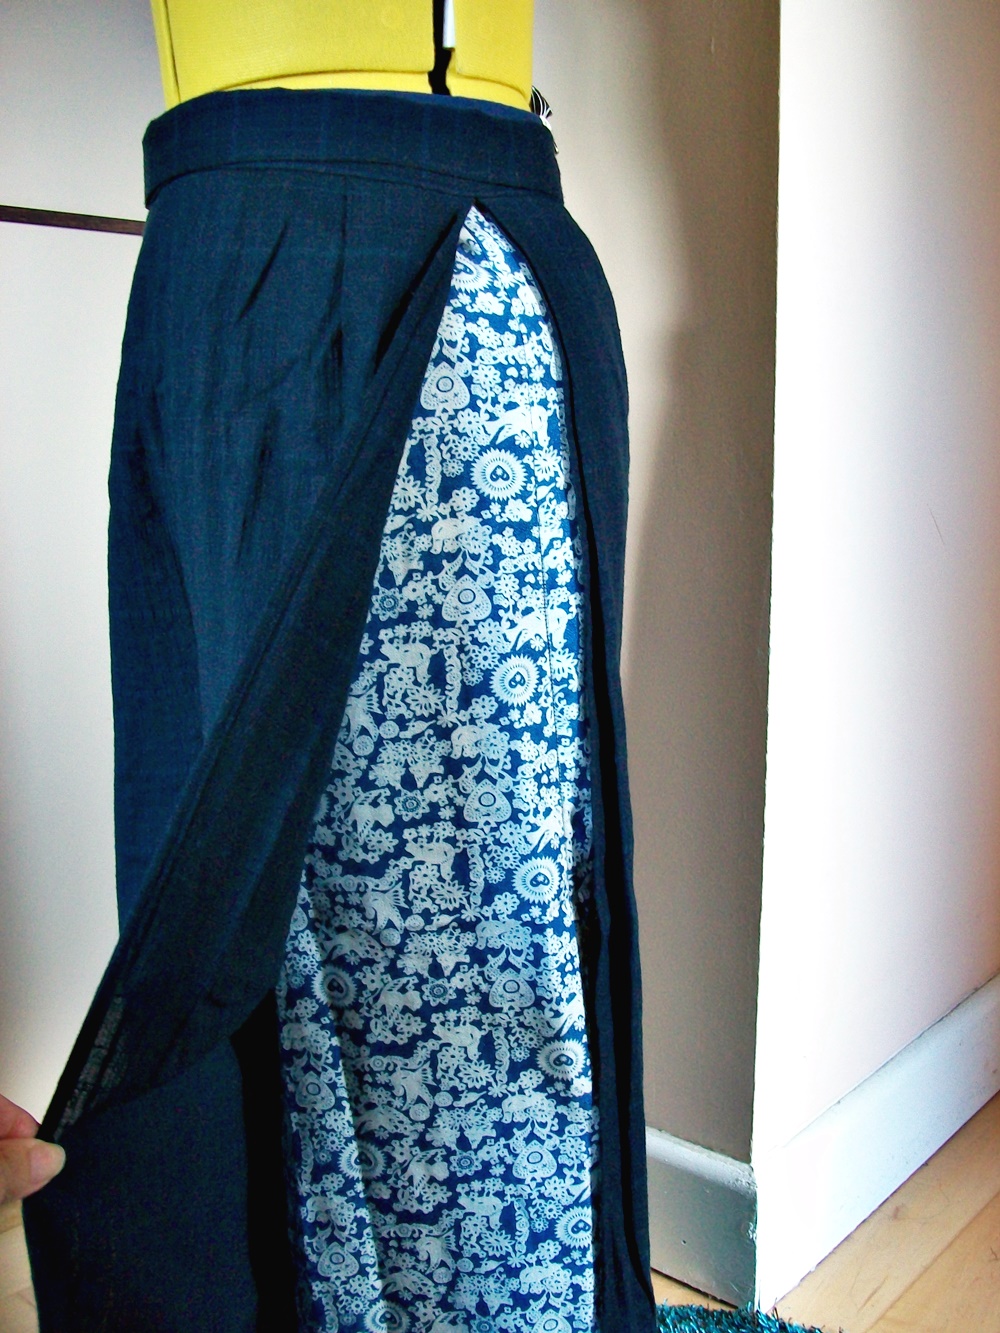
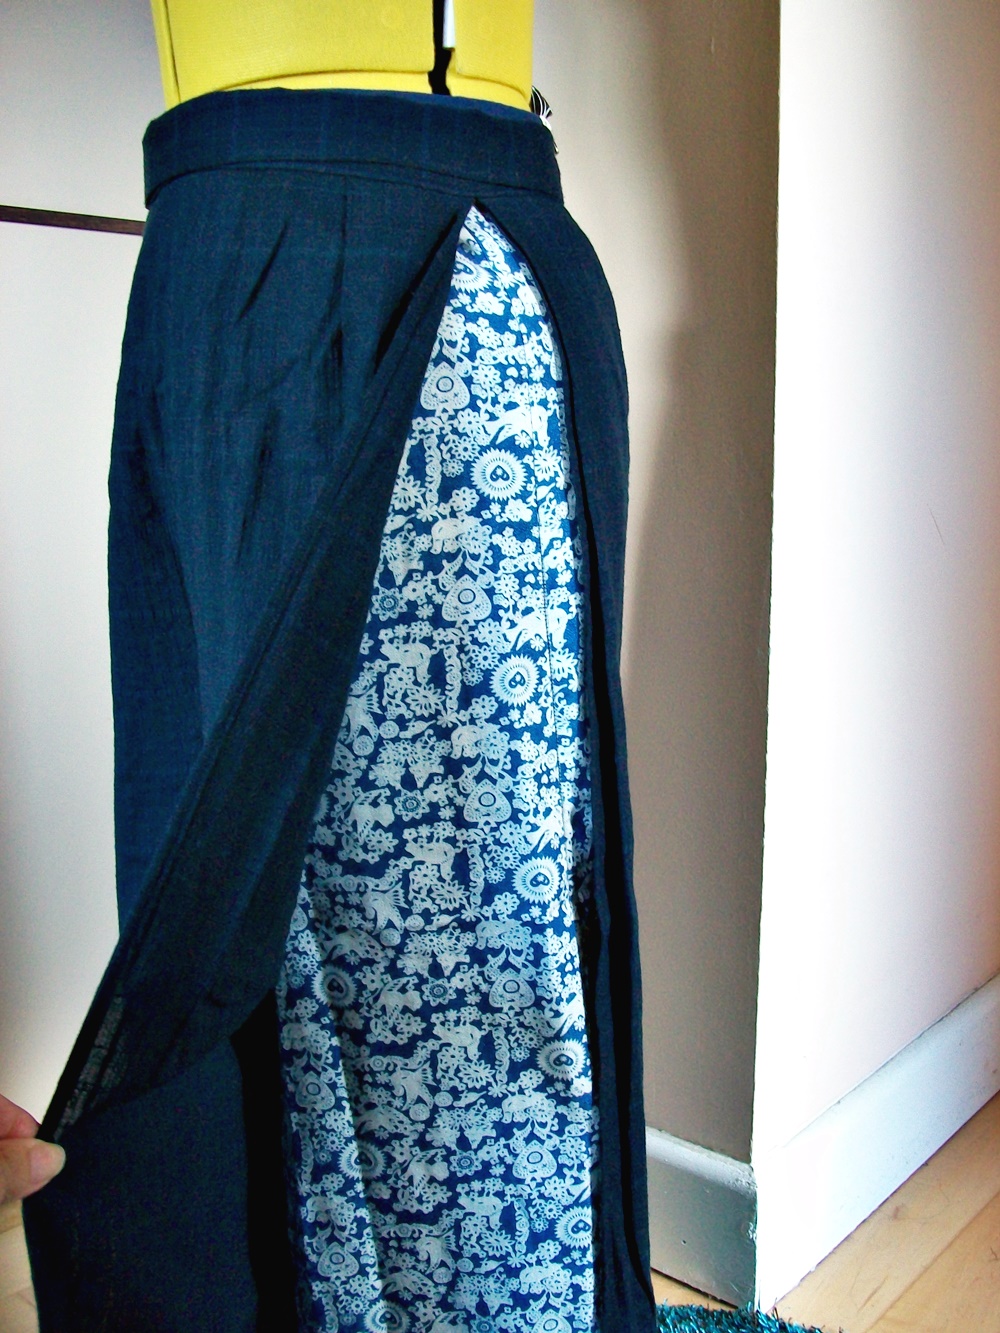
They follow the same pattern as the undertrousers but the sides are straightened and expended to create the pleats.

The first pair I made is from navy blue wool summer weight fabric.  Lovely and light!


I had to iron the hell out of this fabric to create the pleats but after a couple of wears they eventually fell out.


Oh well I would under-stitched them to keep them in place or not.


This time rather then using a tie to close my trousers I used trouser hook and bar.


Conclusion

On the face of it, it is perfect however it was only when I wore them to work then the problems appeared.

Firstly, not making the outer trousers tie ups make it easy to put on in the morning means I can not adjust them in anyway. Which means no weight loss or gain! Hmmm not ideal but oh well.

Secondly, walking around in them in the flat no problem but as soon as there is a slight wind my outer trousers were flapping about and at one point trying to tie my legs together. That is definitely a health and safety issue there which I think can be solved with a button to join the two trouser legs together at the bottom.

And finally three, going to the convenience. It is impossible to stop the trousers from touching the floor so paranoid me now has to make sure the floor in the toilets are clean enough. I have no idea how to solve this part from adding more buttons but on the waistband to join them up so I only deal with one pair of trousers.

Oh well a work in progress.

Making a Dress - Song hanfu trousers

Inspiration

As a Chinese girl, I grew up on a diet of Chinese period drama and the one thing I love about them is the costumes or hanfu.

So pretty with the flowing sleeves and elaborate hairstyles.

I have spent many hours staring at hanfu and last year I decided to take the plunge and make something.  However what period?

Most of the female hanfu are dress which is fine for summer but I would like something practical and for me that is trousers and guess what there is a dynasty which features them, the Song Dynasty!


Design

I decided that I would make the most distinctive part of this style of hanfu, trousers.

If you look at the pictures above you will see that they come in two parts, an inner part and then the side split part.

At first I need to find out how these two were put on and fortunately I managed to find a site that show you how it was all tied here.

Therefore time to draft my first ever trousers and so I needed to find a user-friendly guide.  The best one for me was this one from "In the mood for Couture".  The tutorial led me from one step to the next and finally I managed to draft a pair.

I took some liberties like making them extra baggy and straight leg so the chances of it not fitting was zero.


Construction

I went on a fabric buying spree and one of the fabrics I picked up was a cotton jersey.  It is lovely!  Soft and very comfortable and has a lovely drape.  Brilliant for the inner trousers.

Sorting out the front placket.


I used the tutorial from historical sewing website as it has the most detailed and clear instruction.s

And before you now it, finished.

And here they are.


Now to make some over-trousers which is part two.