Showing posts with label otome no sewing. Show all posts

10 January 2018

Making a dress - Brown striped JSK

Christmas holiday is a time for relaxing and stuffing myself silly with food however it is also a good time to sew!


A long time ago I made this lovely blue apron dress which I regularly wear for work as it is so cute and I thought it was time to make make another one but a bit more jsk-like.  Which means I fully lined it and sewed up the back of the skirt so I don't have to worry about wearing a underskirt any more.

So I dug out my old pattern from my shelf and started to prep my fabric.

Normally I would wash all my fabrics but I am once again using kimono fabric and unfortunately I forgot to jot down the fibre used to make this bolt so I decided against washing it and just steamed iron it to death.  I will be using a synthetic lining and from the crisp feel of the kimono fabric I have a feeling it is not natural so hopefully if I do need to wash it, it will not shrink.


This bolt came with a label but alas I don't know what it says so if you do let me know!

I started off with the lining as I had a lot of the material so if I made any mistakes I can make alterations.


And now to measure and cut my kimono bolt.  Which is always nerve racking....

So once I got over my hesitation I had the outer fabric cut and then I suddenly had a bodice.


With buttonholes!


Of course the next thing to tackle are the ruffles.


But I knuckled down and after an solid morning work I have it all sewed, gathered and attached to the skirt.


Then attached the skirt to the bodice and then attaching the lining to the skirt at the waist.


 This had to be done by hand which didn't take to long but there was a lot of fabric.

Finished

And here it is.


Yep that is one big bow!


I even dipped into my lace collection and added some detail to the bodice.


And the pockets as well as I thought they needed a little pick me up.


Oh and of course some more lace along the bottom.  This was the lace that I brought back in April 2017 when I went to Hong Kong.  


And I had to find some matching buttons for this jsk.  I went for something brass like since the dress is brown.

Conclusion

This project went relatively smoothly and with the overlocker certain things were a lot easier because I didn't have to worry about fraying.

I still have some material left so I might be able to squeeze a matching bolero jacket so fingers cross!

1 May 2017

Making a Dress - Modern Jeogori

Inspiration

Lately I have been staring at modern hanbok,


Don't they look refreshing and light.  Probably completely inappropriate for the summer here in UK but they are so pretty.  Not to mention perfect for a work capsule wardrobe.

So what should I aim for?  On Leesle site there are plenty to choose from but I when for something simple and chic.


Design

It seems the basic elements of a modern hanbok is the jeogori (or jacket) and the chima (or dress).

However which one to make first?

I decided that since the chima/dress of a modern hanbok looks like a simpler make, I would tackle the jacket first.

I have to admit, I am not good at making jackets and the first decent one I made was the navy blue polka dot loose sack dress/jacket I made last time.

Therefore like a good cheat I used this pattern as a base.


So I followed the pattern around the armscye part as that is the hardest part for me and I found polka dot jacket was very comfortable.

Now rather then cutting it like in the picture I extended the line down from the bottom of the armscye by 13cms to create a short little jacket.  Then I create the front pattern to create an crossover.


Now I pinned the paper pattern to my Miffy 2 and added a collar.  What I didn't take a picture of is the issues I found.  The summary is that I could not create the collar I wanted with the back neck curve.

If I looked at the pattern for making a traditional jeogori, this would be straight and when I look at this picture below, it seems the back part is straight so I thought why not give it a go.


So I re-drew the back piece with a straight back neck.


Mockup time.


Hmmm so far so good.


Oh maybe a little care is need when I join the collar to the shoulder seam.


However it looks like I have a pattern.

Fabric

I was going to make this a lined jacket as I had some multicoloured polycotton in my sewing room taking up space but then I remembered my remaining stash of fleece.  As this is going to be a work wardrobe I might as well make something from that.  I do love wearing a fleece as I hate cold arms.

Also it would mean I don't have to line it!

Construction

Okay time to bite the bullet and make this.


Going well.


Oh good this has worked out nicely.

And this is where the WIP photos ended because the rest is just attaching the arms and hemming the bottom seam.

Finished


Not bad at all!  Almost like the jeogori in the picture.


Looking nice and smooth


Oh and as I had some ribbon with hearts, I thought that would be nice to use as a tie for the otherwise black little jacket.

Conclusion

Overall I am very happy with it, I can certainly wear it to work and it is nice and cosy but of course there are things I would like to change.

One, taper the sides a little.  On closer inspection of the original jacket, the sides are not straight down but taper in slightly to the waist.

Two,again closer look on the collar, there is a slight curve on the collar but only slightly.  This might mean I will need to re-design the collar but this curve is similar to the one I normally sew on a kimono so maybe it might not be too hard to incorporate.

Three, lengthen the bodice a bit more.  This is a bit short for my liking but it is still okay.  I will just have to look at it as a bolero jacket.

3 April 2017

Making a Dress - Navy spotted Lolita Sack Dress

I promised during my hiatus on blogging I have been sewing.  

This was the dress I made before I completed the lolita apron dress.

Inspiration

For some reason, I wanted to make a loose lolita dress.  I had the idea of making a dress which I could wear under any overdress or skirt.  So it had to be made from durable fabric which was not too fussy.

Design

As every Otome no Sewing comes to the rescue and this time it is book 6.


Fabric

I didn't have a fabric in my collection which would be suitable for making this dress and I thought it would be one of those projects where I would be looking for the fabric for a long time.

However luck would have it, one of my favourite haberdashery shops in Belfast was selling some cotton fabric and one just stood out from the rest.

It was a lovely herringbone weave cotton with white dots printed on top.  It was lovely and I brought the remaining 3 metres of it without battering an eye.

Funny thing is that it was only when I got home when I realised that the fabric was similar to the one used in the book.  Clearly a sign!

Construction

Yeah no photos I'm afraid.  Was just too excited to make it.

Finished


Yeah one sack dress!


This is the first dress I made which has such a high "waist" line.  I thought it would make me look pregnant but it didn't.  Maybe it is the overall look that helped.


Unlike any of my other lolita dress, no bow!


Lovely sailor collar.


I was quite please with my cornering skills.


Pockets because we can't live without them.


Sleeve details.  Just the cotton trim something simple but very striking.


The original design was a bit too short for my liking and it didn't occur to me during pattern drafting that this needed to be lengthen so I went with the easy option and added some frills. 

Which was a good choice as I think it made it less look like a pregnancy dress.

Once I finished making the dress, it dawned on me that it also makes a lovely summer jacket.  So this this actually the most useful clothing item I have made to date.

2 April 2017

Making a Dress - Lolita Apron Dress

It has been too long!

Really it has and I have no real excuse but sewing, games and kanzashi have been taking up a lot of my time and unfortunately I always get carried away and forget to update you lot.

So start now I will do my best to report on each of my new creations whether it is sewing, kanzashi or kimono.

So today I have for you my latest sewing project completed today.

Inspiration

Continuing on with my aim to make a lolita work wardrobe I have decided it is time to make another apron style JSK.  They are very versatile as they can be paired with any of my work shirts and are very comfortable.

As always my Otome no Sewing mooks have come through and I have found the one I will based my JSK on.


As this is for work, I omitted the shoulder frills, lace and pintucks along the bottom.  I wanted this to me nice and simple so it could be worn often and it can be washed easily.

Fabric

Finally I am able to make a little dent in my fabric hoard and I decided on a nice grey with shots of red kimono bolt.


There is a faint floral pattern woven into the fabric as well which make it a little more interesting.

Construction

As with all my dresses made from kimono bolt is the width of the fabric.  Luckily the bodice pieces all fit perfectly and although the pattern calls for a circle skirt I went a rectangle skirt to make things easier (oh famous last words).


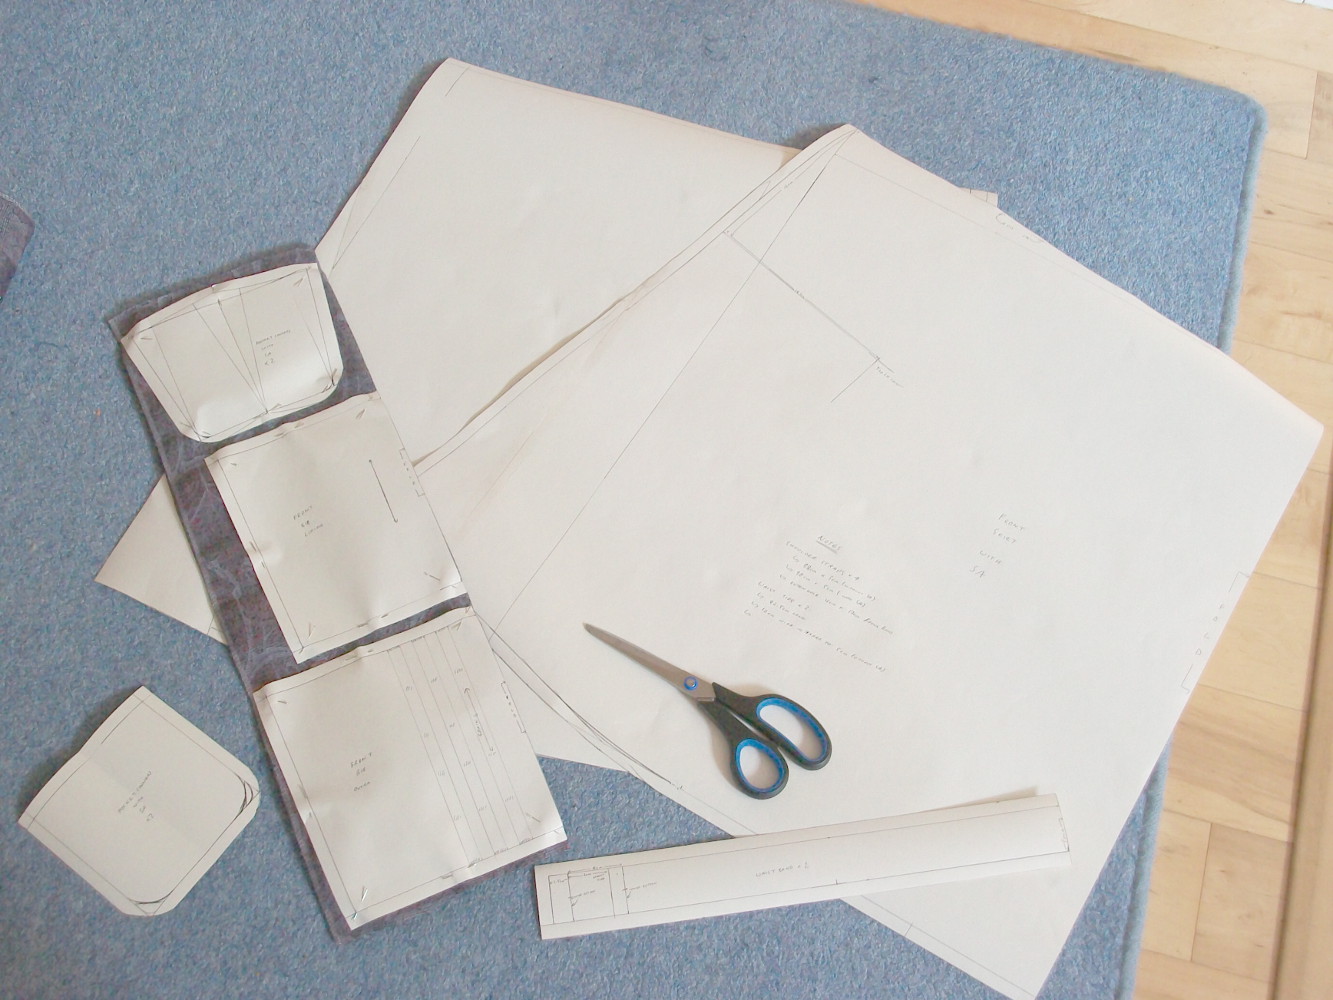
 Here are pockets and bodice pieces on the fabric.


And here is where the construction photos ends.  I always end ups sewing in the afternoon and the lighting in my flat is terrible so photos are the last thing on my mind.

I will try better in the future.

Finished Dress

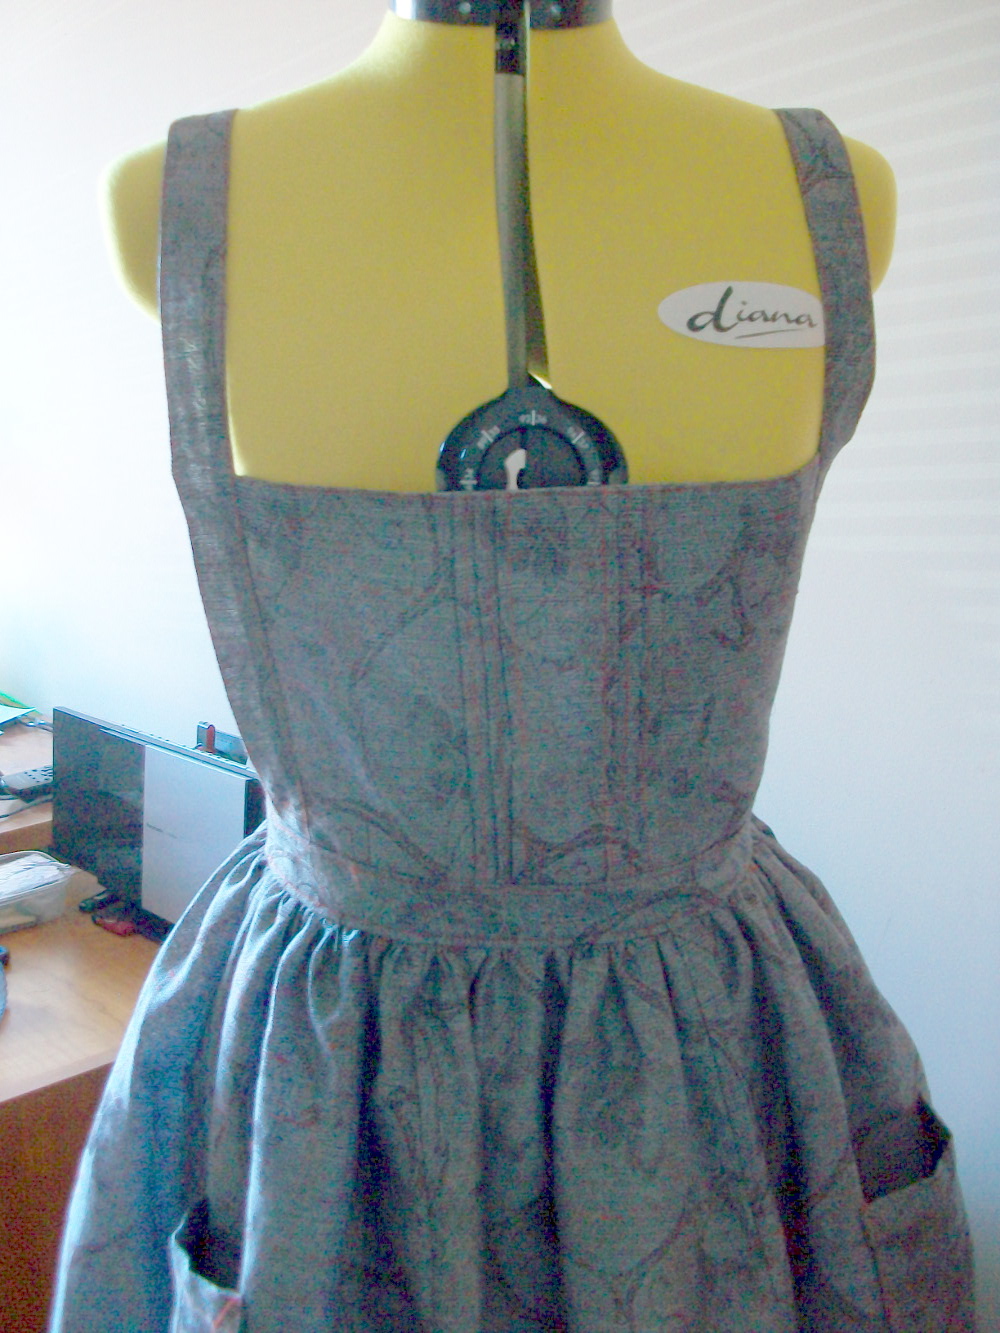
Here it is!

Isn't is dainty?


As I used no trimmings on the dress I decided it was a good time to practice my topstitching.  I used red thread to complement the red in the fabric.


As always a lovely bow is needed.


I may have made it a little small on the waist but I had just had my lunch so maybe that is the reason for it being tight?  Well it is a good enough excuse.


And I can't live without pockets so this one just had to have them as well.

Now time to look at my to-do list and tick some things off.