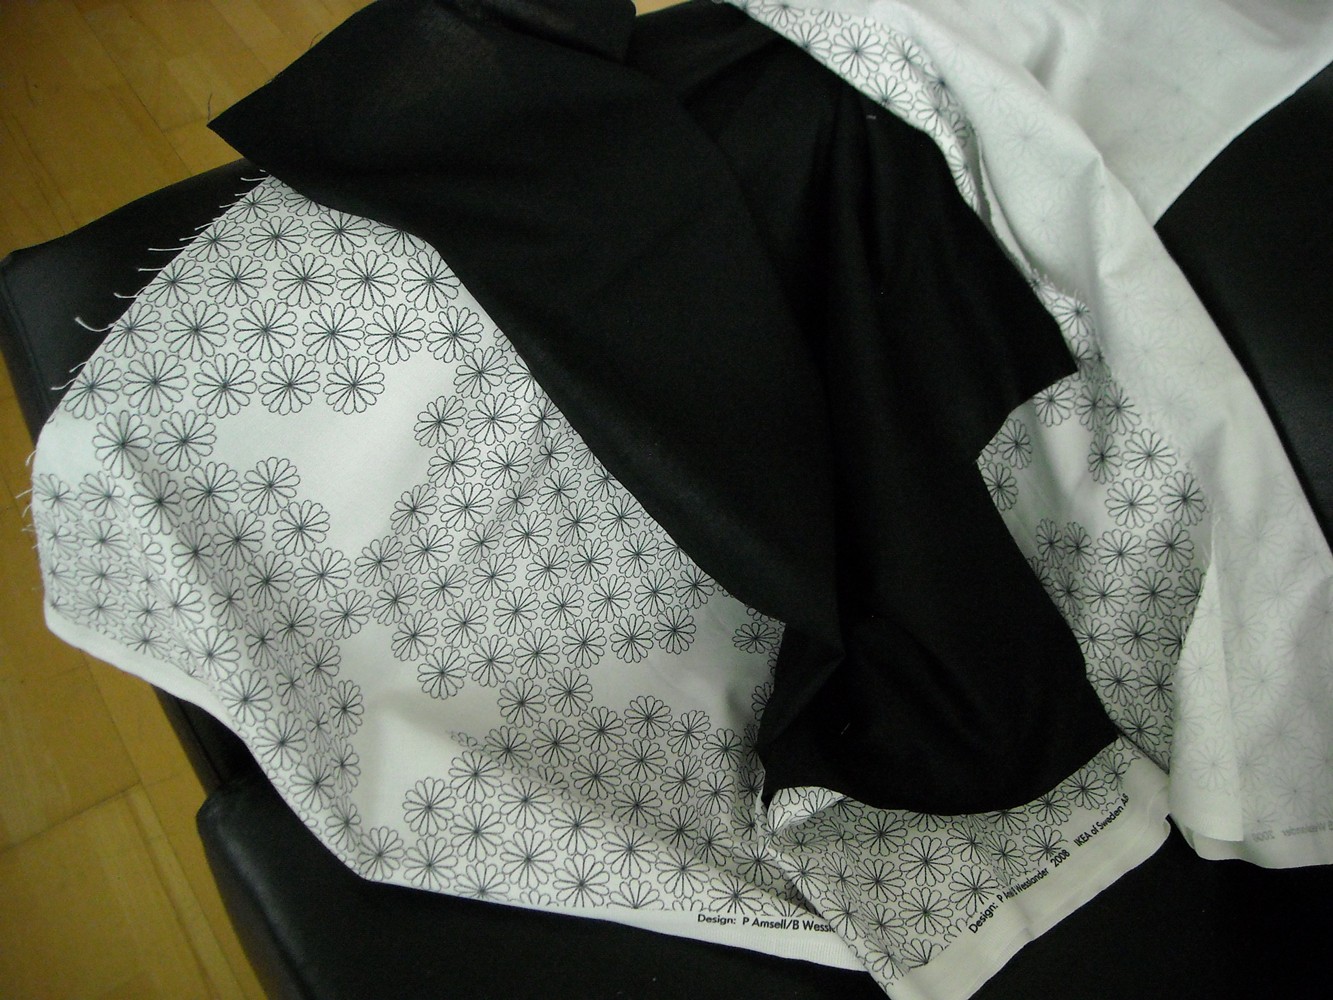
Here is the list of things you will need.
Two lots of 2 metres of fabric your choice (for reversible obi)
2 metres of stiff interface
4 metres of ribbon
Sewing Machine
Thread
Pins
Of course if you do not want to make a reversible obi then you just need 4 metres of one type of fabric.
Instructions
Step one
Take your fabric and place it so the right sides are touching. Now we need to mark the pieces!
Here is the basis pattern that I used.


This way you are using the fabric economically so you can use the remaining fabric for other projects like making more obi!
As the pattern is basically rectangles you can lay the pieces so they are edge to edge.
Step two
For the interface, you will need to cut the same shapes as above except the measurements are as follows.

Step three
You now have all your pieces at hand. If you have not ironed the fabric and interface beforehand, give them a quick once over.
Step Four
We will sew the tare part first.
Take your tare fabric pieces and line them up with the right side facing each other and sew.

Snip the corners like below and then turn it inside out.

Now iron your tare and then insert your interface.

You have not completed your first part!
Step five
Take your ribbon and cut it into 1 metre lengths and then singe the edges if you have synthetic ribbon. If you have natural ribbon then turn the end of each piece on one end only leaving the other end raw.
Now take your waist pieces and two ribbon pieces and lay out as follows.


Now pin the edge or baste the fabric together and sew!

Make sure you don't catch the ribbon when you sew the thing together and also don't forget to leave a gap of 30cm to allow you to turn the waist band inside out.
Snip the 4 corners just like you did for the tare, turn it inside out and iron flat.
Time to insert your interface, this can be a little tricky but if you have left a 30cm gap there should be enough space for you to push your arm into the waist band and position the interface correct.
Once you are happy the interface is in the correct position, sew the opening closed as neat and as close to the edge as possible. If you are worried that your ribbons will rip off from all the tugging then you can sew over the fabric and ribbon to give it extra strength.

Step Six
I left the otaiko part the last because it is the trickiest if you are a beginner.
Take one piece of your otaiko and lay it out so the right side is facing up.
Now take your completed tare piece and your two remaining pieces of ribbon and layout as follow. You will want the open end of the tare to be on the left hand side.

To make sure you have place the tare piece the correct way round, the matching colours should be touching.
Fold up the ribbon and tare piece so they are within the fabric boundary and lay the second fabric piece of otaiko on top. Pin/baste the pieces together and sew.

Snip the top two corners, turn it inside out and iron it flat.
Now insert your interface and sew the opening closed.
And volia you have a tsuke obi.