Inspiration
Well now I have a white one, I might as well have a black one.
You can not go wrong with black and white as your base colours.
Design
This one is going to be a tiered skirt because I don't have one yet in my collection.
However this one will have side pockets which will be hidden by the top tier of ruffles. Sneaky I know!!!
Construction
Oh god please remind me why I thought using this fabric was a good idea? It is sooo slippery and frays at the slightest touch. Thank god I have an overlocker.
So many ruffles!!!!
This is only the third tier and I think I was going mad.
Finished
However the result is this!
So many ruffles.
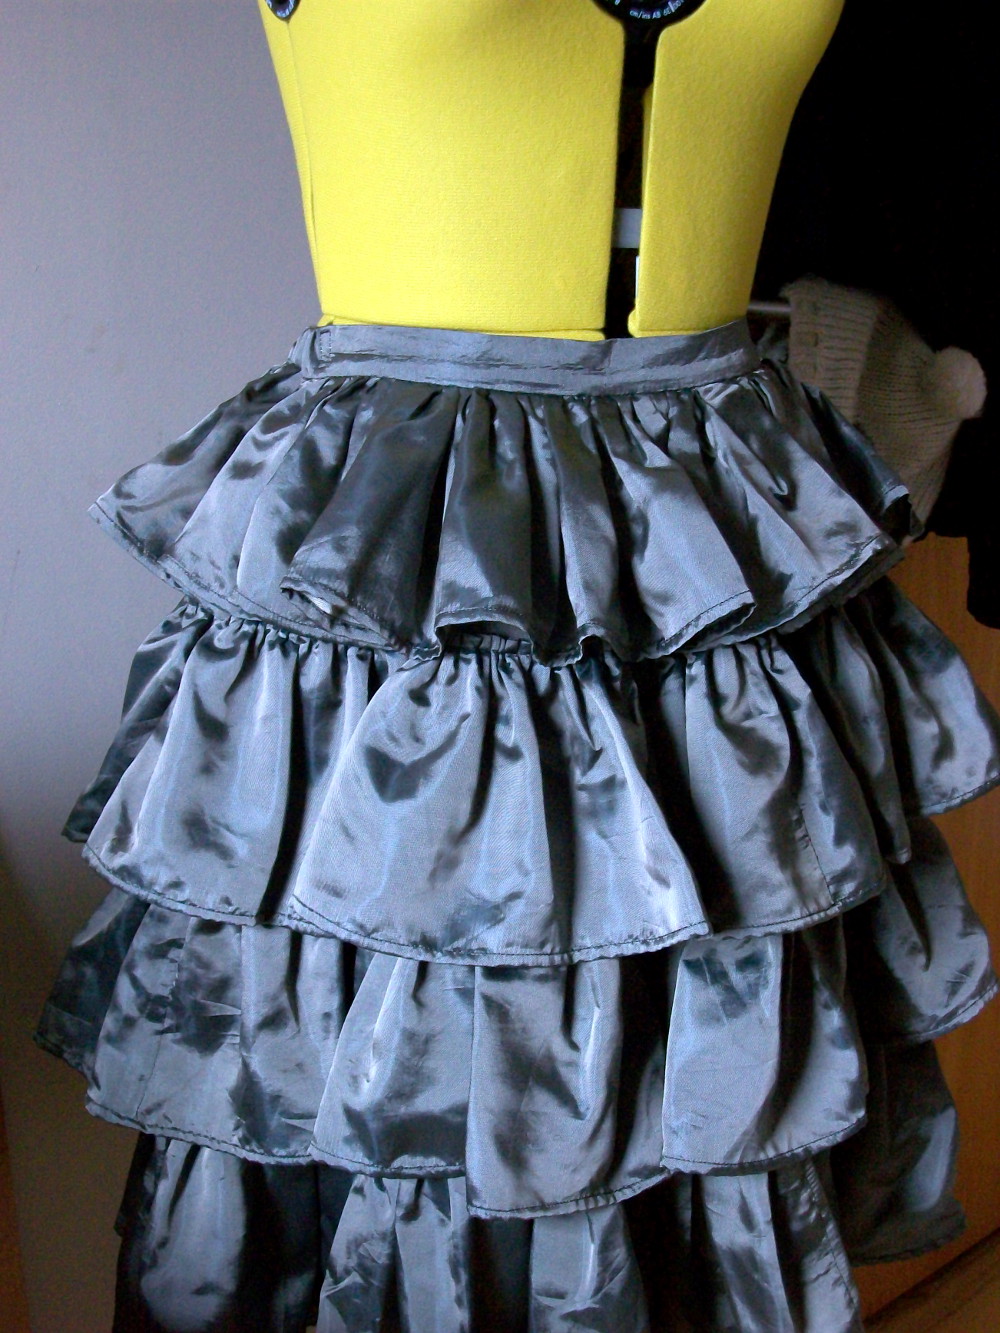
And best of all POCKETS.
Conclusion
Don't use lining like material again. NEVER. Right lets see how long I will keep this promise.
And due to the fabric choice there were a few mistakes like my side pocket seam not quite aligned nicely. Well I was sewing 4 slippery layers is not easy even at slow speed.
However it is not impossible as you can see here on the other side, much nicer.
Oh yeah top layer was not long enough. Boo hoo, it seems I was not careful enough.
And as a result the top tier sticks out more then the rest. But it seems less noticeable when I put on an a-line petticoat.
A blog for my sewing, kanzashi and all other fun projects that I do. www.kittykanzashi.etsy.com
4 September 2017
28 August 2017
Making a dress - Simple white underskirt
Inspiration
Like a petticoat is a staple in the lolita wardrobe so is a underskirt it seems for me.
I have sewn a few dresses now which sometime I feel would benefit from an underskirt either to provide a little volume or just to provide modesty.
Design
This one is going to be a simple rectangle skirt as I really want to show off the border design.
Shame I can't get more of this fabric.
Construction
Okay, fabric all ready to be cut up.
Oh my scallop edge. They may look pretty but so much work has to be done to get them to sit nicely.
As I have limited fabric, I opted to only put one pocket. Can not risk wasting 3 cms, the skirt is already borderline not poffy enough.
Putting in the waistband which will be a half elastic waistband.
Finished
Edit: Okay I can't put it on Miffy 2 because of a stupid error so I'm afraid I can only give you photos of it lying flat.
Here you can see how I dealt with the lining and hem.
Conclusion
Well this was the first time I make scalloped edge and I think it would be easier if the fabric was thinner.
Oh one fundamental error was made on this skirt. I did not make the band big enough to fit over my bum. Yep I was kicking myself when I found out however I discovered that I can still wear it if I put it over my head. So there we have it, I did not waste half a day making a skirt and wasting this precious fabric.
Also it doesn't quite go with the qi-lolita dress that I originally made it for. Which is a shame but it will go nicely with my blue apron dress.
Like a petticoat is a staple in the lolita wardrobe so is a underskirt it seems for me.
I have sewn a few dresses now which sometime I feel would benefit from an underskirt either to provide a little volume or just to provide modesty.
Design
This one is going to be a simple rectangle skirt as I really want to show off the border design.
Construction
Okay, fabric all ready to be cut up.
Oh my scallop edge. They may look pretty but so much work has to be done to get them to sit nicely.
As I have limited fabric, I opted to only put one pocket. Can not risk wasting 3 cms, the skirt is already borderline not poffy enough.
Putting in the waistband which will be a half elastic waistband.
Finished
Edit: Okay I can't put it on Miffy 2 because of a stupid error so I'm afraid I can only give you photos of it lying flat.
Here you can see how I dealt with the lining and hem.
Conclusion
Well this was the first time I make scalloped edge and I think it would be easier if the fabric was thinner.
Oh one fundamental error was made on this skirt. I did not make the band big enough to fit over my bum. Yep I was kicking myself when I found out however I discovered that I can still wear it if I put it over my head. So there we have it, I did not waste half a day making a skirt and wasting this precious fabric.
Also it doesn't quite go with the qi-lolita dress that I originally made it for. Which is a shame but it will go nicely with my blue apron dress.
21 August 2017
Fabric Haul - Pink and white wool juban bolt
I have a lovely fabric to show you today!
Isn't it cute :)
It is a wonderful wool bolt for a juban and it has delightful sakura/cherry blossoms all over it.
Unfortunately no labels or maker's mark on this one which is a shame. However I am pretty sure this fabric for a juban as pink is a very common colour for them. Also this has the same feel as my wool juban that I use regularly when I go out.
As you can see the fabric is fine as you can see the pattern from underneath.
I do need another wool juban in my kitsuke wardrobe but I will try and make a two piece from this. Will probably use this to make the main body but use different fabric for the sleeves, maybe interchangeable ones so I have flexibility.
14 August 2017
Fabric Haul - Muted Green wool
Today we have a lovely muted green wool bolt.
I'm lucky in that this time I have all the original labels.
Not sure what this label so if you know and please let me know.
Fabric composition is as follow: -
- 70 % Wool
- 15% Polyester
- 15% Nylon
Well at least I know it will be easy to look after.
Trying to describe the pattern is a little tricky but the best I can do is stripes in the background with irregular markings.
Here you can see the back side of the fabric which for once you can not mistake for the right and wrong side.
A nice closeup of the fabric texture.
And one final picture of the pattern.
Not sure what I will make from this as I already have a green wool kimono in my collection and it is one of my favourite ones. So maybe I will turn it into a everyday frilly work dress.
7 August 2017
Fabric Haul - Blue with red blossoms
This one from Kimono Petit Japon (http://stores.ebay.co.uk/kimonopetitjapon) caught my eye.
Why you may ask? It looks like any other bolt but does it?
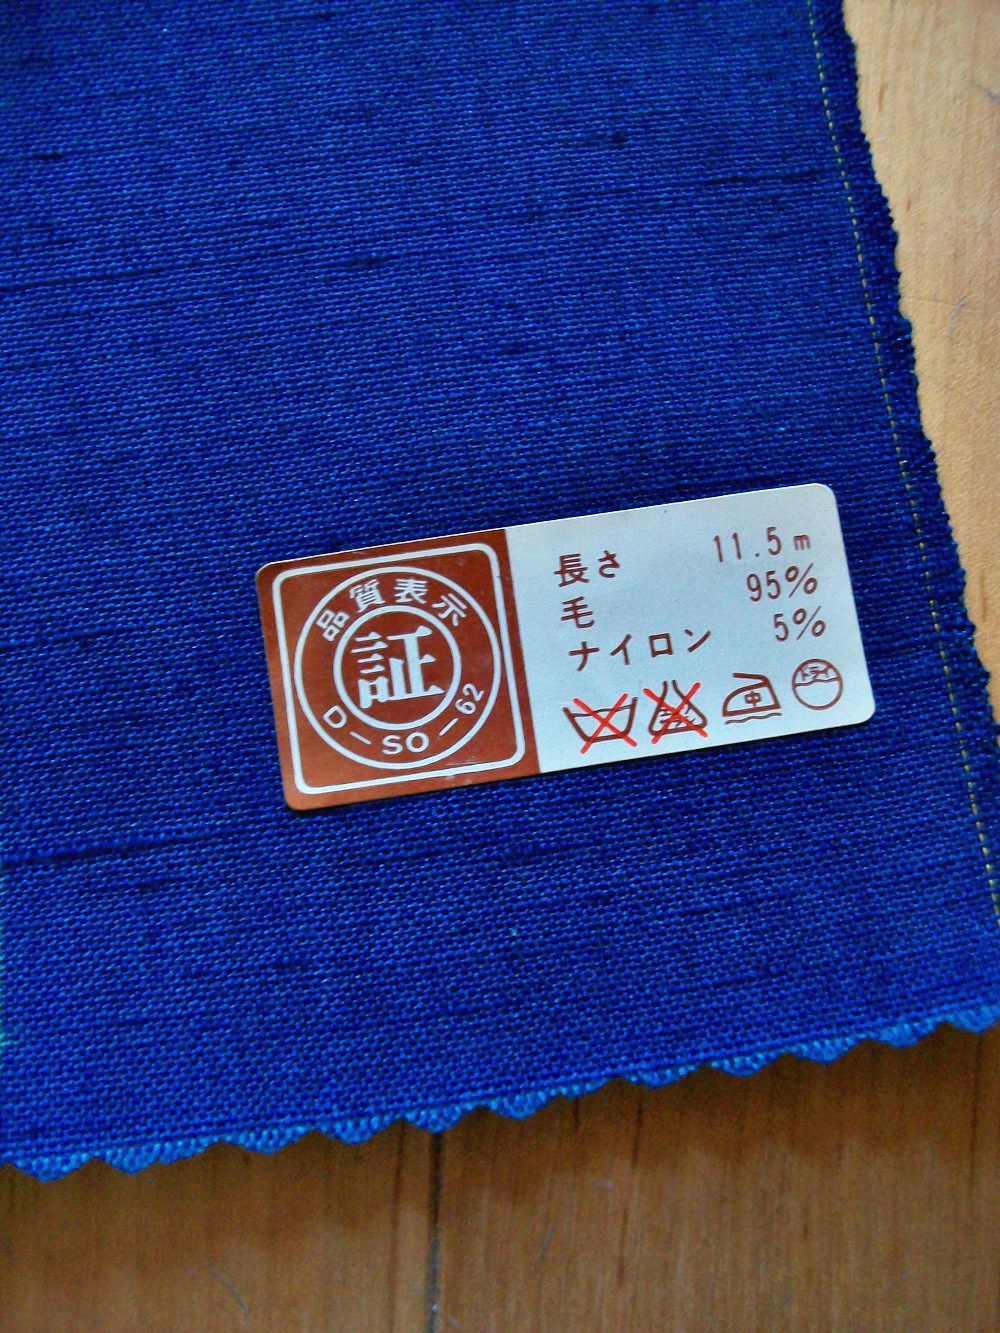
For me it stood out because although it is wool bolt ( well 95% wool and 5% Nylon) the pattern is not as dense as the ones I had previously. It is more spaced out.
Here is the little label telling you the fabric composition.
Not sure what this label is saying but probably the producer of the bolt.
Here you can see a closeup of the flowers. I think they look like plum blossoms but alas I am not that good at identifying flowers.
I really do buy fabric that just look pretty.
And here is the back of the fabric. At least I can not mistake the right and wrong side.
Labels:
blue,
fabric,
Fabric Haul,
kimono,
kimono bolt,
pattern,
red flower,
wool,
wool bolt
5 August 2017
Making a dress - Hanfu top
Inspiration
So I have the trousers and the jacket but now a top would be nice. Of course it is is a nice day a strapy top could be used which would mimic the wraparound top nicely. However what about the colder days?
There I would a proper top or shirt in my work world wardrobe.
Design
Luckily there is a pattern for this.
https://torguqin.wordpress.com/2010/07/17/ganlings-shuhe-duanda-patterns/
Okay it is not correct for the period but then again I am not going for historical accurately here.
I had to tweak a little around the shoulder area because I learned from the jacket that I have wider shoulders then the patterned allowed.
Ever the hoarder of fabric now, I had some cream polycotton lying around.
Construction
I decided to tackle this in a serious of rectangles and then make the adjustments for the collar and sleeves once the fabric is all sewn in place. This will save time in figuring out how long each piece of fabric has to be.
Now lets attached the front overlap to the main body.
Then the sleeves.
Now to taper the sleeves to the final shape.
Now to play with the collar and front.
If you are wondering how I finished the seams on the body, I flat-lined them.
Finished
I don't know why I did not take any pictures of it when it is finished but here it is in action with my hanfu suit as I am going to called it.
Conclusion
I know I made the top for winter but it is still a bit too thin for my liking. So this is now a summer top.
It is also on the see through side so I will need to wear a top inside as well. Yeah not quite turning out as planned I have to admit but it was a good exercise and now I know what fabric I need to aim for in the future. Thick cotton!
I do love the long and flowing outline of this outfit.
Will need to make the trousers shorter as they are a bit too long for office wear but are probably the correct length for the style.
Now when will I find the time to wear it??
So I have the trousers and the jacket but now a top would be nice. Of course it is is a nice day a strapy top could be used which would mimic the wraparound top nicely. However what about the colder days?
There I would a proper top or shirt in my work world wardrobe.
Design
Luckily there is a pattern for this.
https://torguqin.wordpress.com/2010/07/17/ganlings-shuhe-duanda-patterns/
Okay it is not correct for the period but then again I am not going for historical accurately here.
I had to tweak a little around the shoulder area because I learned from the jacket that I have wider shoulders then the patterned allowed.
Ever the hoarder of fabric now, I had some cream polycotton lying around.
Construction
I decided to tackle this in a serious of rectangles and then make the adjustments for the collar and sleeves once the fabric is all sewn in place. This will save time in figuring out how long each piece of fabric has to be.
Now lets attached the front overlap to the main body.
Then the sleeves.
Now to taper the sleeves to the final shape.
Now to sew the sides and sleeves and add a collar and we are done.
Finished
I don't know why I did not take any pictures of it when it is finished but here it is in action with my hanfu suit as I am going to called it.
Conclusion
I know I made the top for winter but it is still a bit too thin for my liking. So this is now a summer top.
It is also on the see through side so I will need to wear a top inside as well. Yeah not quite turning out as planned I have to admit but it was a good exercise and now I know what fabric I need to aim for in the future. Thick cotton!
I do love the long and flowing outline of this outfit.
Will need to make the trousers shorter as they are a bit too long for office wear but are probably the correct length for the style.
Now when will I find the time to wear it??
Subscribe to:
Posts (Atom)