Inspiration
Anyway I had two dresses in mind.

Both adorable and I will make both of them but which one first???
So I asked my facebook friends and the decision was this one.

Hooray decision made now I need to make it.
Fabric
I do love cream as a colour but I wanted this dress to be more versatile and multi seasonal so it was going to be a dark colour.
Now part of this "Making a Dress" series is to see what can be made from a kimono bolt because I like a challenge. Therefore the fabric I chose for this dress is a lovely navy blue wool fabric with a leaf pattern.

Here is a closeup of the pattern on the fabric.

I like the subtle pattern on this fabric because from a distance it looks just navy blue but only when you get closeup to the fabric you see the detail.
Design Process
I will be using the pattern from my lolita sewing book but as always I have to make sure the sizing and pattern work.
The skirt is simple enough but the bodice was the part that I was concerned with because I am not a standard Japanese size.
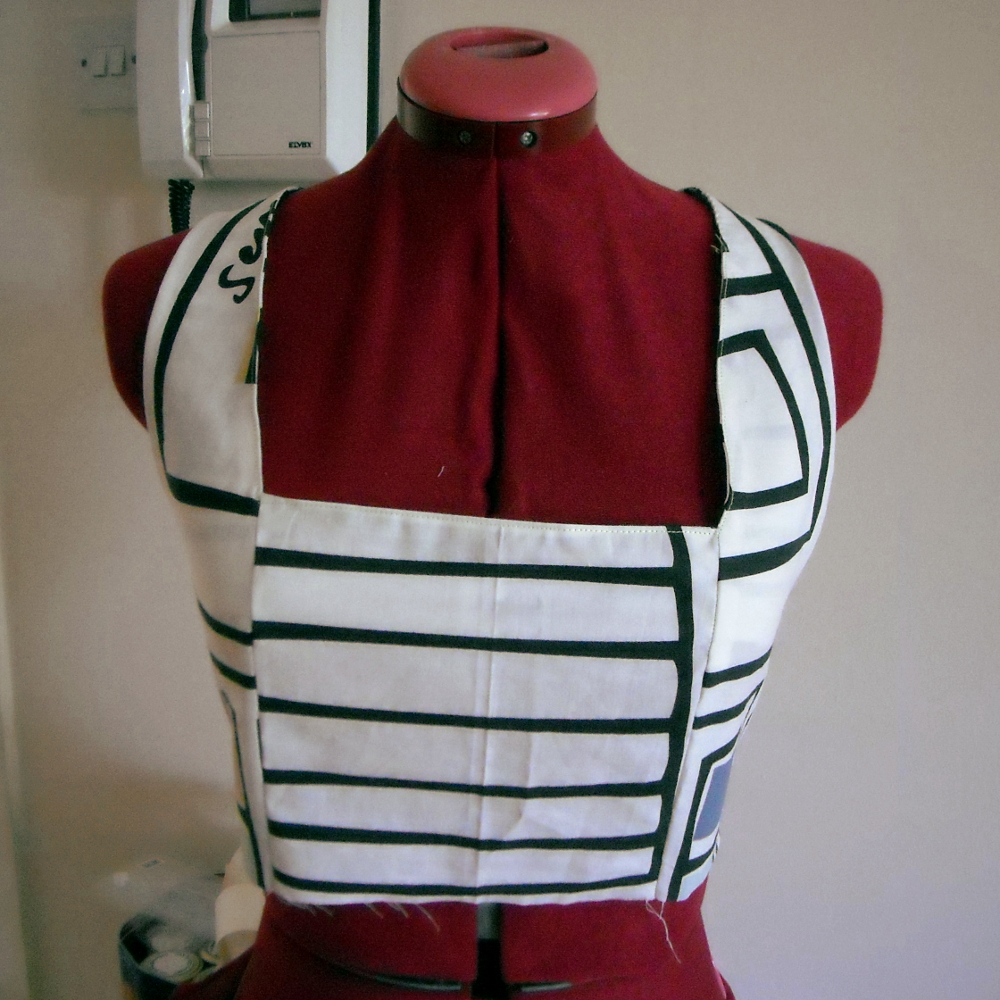
Front
Side

Back

There were two areas that I was concerned with. First the back dart was just not right, it made the bodice poke out.

That will have to go and then there is the gap at the front.

Now this could be caused by me pulling on the fabric too much when I am edge stitching or maybe the pattern needs to be altered again. Well it is better to be safe then sorry so I will alter the bodice a little.
Construction
So time to get cutting.

Of course I was muttering measure one, measure twice and cut. Although for me I had to measure a few more times time this is not a standard width of fabric.
Anyway I had to bit the bullet and I eventually cut the fabric into the required lengths for each of my pieces

So in no time I completed the bodice. Looking good around the front.

And so does the back.
Now to tackle the skirt and the 8 metres strip of fabric that will be turned into 2 metres of ruffles for the bottom of the skirt. Oh my god!!! I can not tell you how annoyed and how much I swore at the ruffles. It took me one and half days to get ruffles hemmed and then ruffled. Never again will I use this fabric to create ruffles. It was insanely hard because it completely slip my mind that thicker the fabric the harder it would be to gather. Oh well, I have started so I have to finish it. It took me 4 hours to gather just under 8 metres of ruffles into 2 metres but I did it.
So the following day I managed to complete the dress.

Here is the front.

And the back.

Yep this dress has pockets!

I am very happy with the results. It pretty much turned out how it should and apart from the difficulty of the ruffles it was pretty easy to make.
3 comments:
It turned out so sweet! I love the little details of the ruffled pockets and the buttons.
It is very cute. As I have some fabric leftover, I am going to make some bows brooches which can be pinned on the front.
The pattern did call for lace borders on the bodice and pockets but I couldn't find any that match my fabric so I just use some ruffles which I think it is nicer.
Lovely! Are you able to share the pattern you used? I'm trying to make my first lolita dress!
Post a Comment