So I made this cute lolita inspired 50's dress back in January 2013.

You can read all about it in the following link.
http://kittykanzashi.blogspot.co.uk/2013/04/making-dress-50s-inspired-lolita-dress.html
Well one dress is not enough and it time to make another one.
Inspiration
I thought I would try my hand at a one piece. Some like this!
 |
| Innocent World Doll Chiffon OP 2010 |
 |
| Innocent World Harmonica OP 2010 |
I am planning on having a front fitted bodice but the back shirred.


Why am I doing this? Well I am not very good with zips so this dress will need to stretch enough so I can pull it over my head and shoulders. I know that is very lazy but think how comfy it will be!
What I can't decide is the type of skirt, should it be tiered like the Doll Chiffon or just gathered like Harmonica? Clearly one is more easier and uses more fabric then the other so maybe this time I should go for the easier one because this is the first one piece I am making. Anyway I can always make a separate skirt or apron to go over it.
Fabric
Well remember the 10 metres of white lawn I brought for my regency dress? With a packet of black dye I have now turned it into the perfect black material for this dress. Something nice and light for the summer but in black!
Design Process
Well this was a lot of frustration, pondering and indecision. The bodice was easy enough but the sleeves gave me the most trouble. I wanted them to be puffy like the pictures above but should which ones. Normally I like cap sleeves (Harmonica OP) because they are very flattering for my arms but this time I would like something a little bit longer but only a little bit. So taking inspiration from my regency dress I went with the Doll Chiffon style.

This is the only picture of my toile with the proto sleeve. Due to my excitment in solving my sleeve dilemma I forgot to take a photo of the final toile.
Construction
Well this was fun!
It started off really well, I got the pieces cut and made the bodice. In my attempt to conceal all the raw edges, I think I went about it in completely the wrong way however I did my best to resolve the issue and managed to get the bodice completed in one day.

Then came day two and it was time to put on the skirt! I should have left the shirring towards the end because it made attaching the skirt far more challenging then it should have been. Oh well you live and learn.
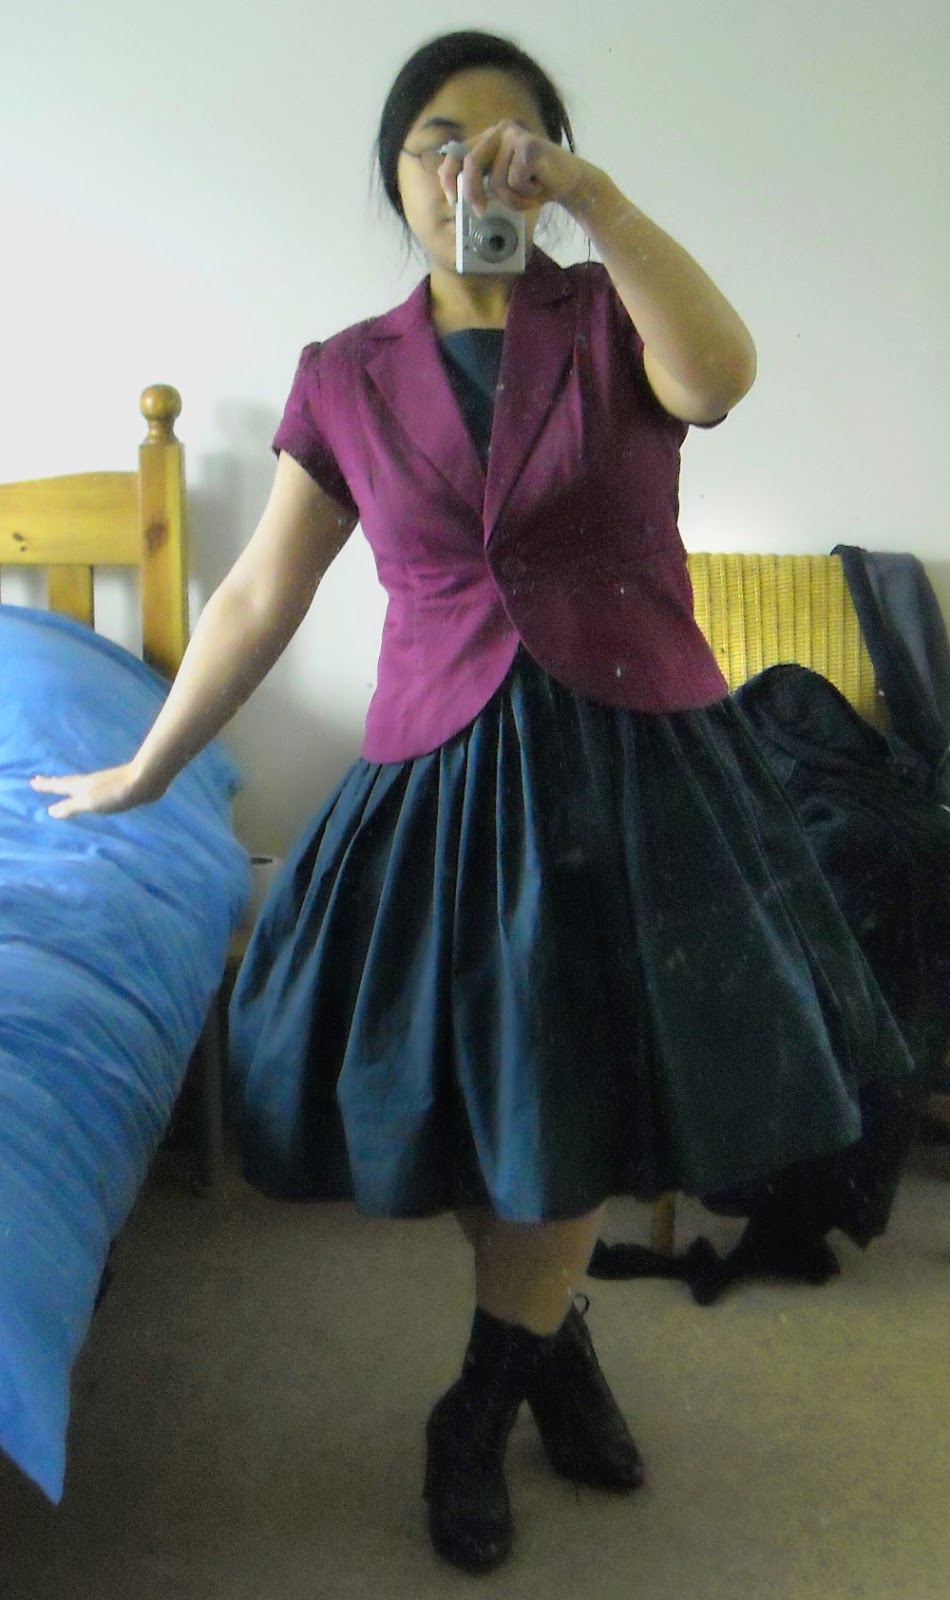
 |
| Front |
 |
| Back |
 |
| Side |

Quite cute I think and it goes well with one of my little jackets which is good as I hate item of clothing that do not match with anything else in my wardrobe.
Not sure if I could wear it too work with the current petticoat but it is doable!
That just leaves adding some trim which was day 3 and day 4 task.

Yep a lot of trim! I started off with a 4 metre fabric tube and after smocking the entire length I ended up with just over 2 metres to handsew onto the bottom hem of the skirt. Which was a bit back breaking but I like it.
 |
| Front |
 |
| Back |
So what I have learnt from making this dress?
- Do not put in elastic until it is necessary.
- Make sure you measure twice!
- Dye any other colour apart from black.
- Use elastic with a bit more stretch.
I am sure there is more but I can't think of them on the top of my head. Now where shall I wear this?
2 comments:
Wow, this black dress turned out so well too! It does look very much like the Innocent World dress - well done! :D And thanks for those tips on lessons learned - I'll need those for when I finally screw up enough courage to sew a whole skirt/dress hahahaha.
Sometimes you just need to jump straight into a sewing project. I would personally recommend sewing a skirt if you are not too confident as you can easily alter it if you do make a mistake.
Post a Comment