Showing posts with label blue dress. Show all posts

25 September 2017

Fabric Haul - Blue with mixed motifs silk

Now something usual, a silk kimono bolt.


I normally I favour wool or cotton bolts as they are easy to work and look after but I would not resist this one.

It is a love blue with lots of tiny strips of paper.


The back of the bolt.  Hmmm the blue dye has not gone through to the back.


What is nice about this one is the markings.  They are actually dyed into the fabric.  Look at gourd border!


The bolt has two names on it.  


And this one which is inside a gourd, what does the gourd mean?  There is also a plain white square which I will assume is where a stamp would normally be place but this one does not have one.  I wonder way?


What is lovely about this bolt is the little motifs on the strips of paper.


Here you can see some seigaha wave, maple leaf and chrysanthemum.


Where as this one we have kasamatsu and I'm not sure what the pattern is called on the left.


I really would love to use this to make a kimono out of it as it would be a lovely simple komon but it would also make a lovely dress as well.  I have a feeling this will sit in my collection for a couple of years before I turn it into something.

23 May 2017

Making a Dress - Modern hanbok (dress)

Inspiration

So I have a jeogori but now I need a dress.

Lucky a modern hanbok/dress seems to be simple enough although this time round I am going to concentrate on a some elements.

One, pleated skirt.  That seems to be a defining feature on a lot of the dresses I have seen.


Two, this is not on all of them but on lots of the Leesle dresses they have a little loop on the front for a decorative accessory.  How cute is that?  Definitely putting this in.  If not for decoration, I could make a little purse to put some change.


Three, as you can see from the pictures above they are quite high waist.  Normally hanboks are quite quite up the chest, similar to empire line dresses so this seems only natural.

And for me an additional feature I want to put in is pockets.  I really can not live without pockets and it is annoying that modern day dresses that you buy these days seem to be lacking them.

Design

So time to trawl through my Otome no Sewing for a suitable pattern.

This time it is Book 8!


The two major changes.  One, I made is the neckline as this one is suppose to be square but I am aiming for a rounded one and two, the skirt will be pleated rather then gathered.


Now as I have just come back from Hong Kong with a few metres of fabric I thought I might make this dress out of the light denim I brought.


I need some lining as I have decided that all of my dresses will be made with lining unless it is a design feature.  Luckily I had some polycotton lying around from an order I made a while ago.  Yep it is multicolour dots.  Well at least it will be fun!


Construction

This all started off very easy.  Cut out the bodice pieces and sew them all together.  This was done in one weekend.


Then came the fun part, the pleated skirt.  My first pleated lined skirt with pockets!

Now I have made pleated skirts before but the lining has never been attached the lining to the skirt and never with pockets so this took a bit of thinking.

Measurement-wise I use the times 3 formula and cut out 3 panels.  One for the front and two for the back in both the outer and inner fabric.  I used the off-cuts from the main fabric to make the pockets as I didn't want to cut up more of my precious fabric from Hong Kong.

Now how should one sew pockets into a lined pleated dress?  Should the pockets go in-between the outer fabric and lining or behind it all.  It turned out that it had to be the latter because I didn't want my pleats to sit neatly into each other.


And that is when things went a little bit tricky.  Because I went with this method, I was essentially sewing my lining to the main dress.  This mean I have to be careful with construction or I could inadvertently twist things or worst sew my pockets in the wrong direction.


In the end it turned out fine although one of the pockets there is a little puckering on the outside but luckily this will be covered up by pleats!

Then I had a bright idea!  I should use some of the light blue and white striped trimming I brought for the loose sack dress!  It is the perfect colour.

If I just sewed the trimming onto the main outer fabric it would have been simple but no I decided to sandwich it between the lining as well.  My reason for this is to remove as many raw edges as possible as I wanted a professional finish.

However because of the way I sewed the pockets, I had to sew the trimming in two parts because I was not able to flip the fabric but no matter I somehow managed it.

Now to pleat the skirt and attach it to the bodice.


Add in an invisible zip and finally sew down the bodice lining.

Finally press with vinegar and a steam iron to set the pleats and ta-da one modern hanbok


Finished

Here it it.  The front.


With my fleece jeogori.


The little loop for hanging a little ornament.


Pockets!


Conclusion

There are small imperfection that I have noticed.

One, the pleats are not lined up perfectly with the pocket so you can see the opening.  You see it in the above image.  I could have tried harder but pleating is a pain with two layers so next time it will be better.

Two, I have never been able to add in a zip without some bunching of fabric but luckily the pleats will hide that ;)

And three, pleating.  It is a bit uneven but it can't be helped I suppose since I am folding two layers of fabric and each one slip past each other.  I suppose I need more practice here.

8 April 2015

Making a Dress - Blue one piece lolita dress with wide collar.

I love my Otome no Sewing book as they provide me so much inspiration for future project.

Inspiration

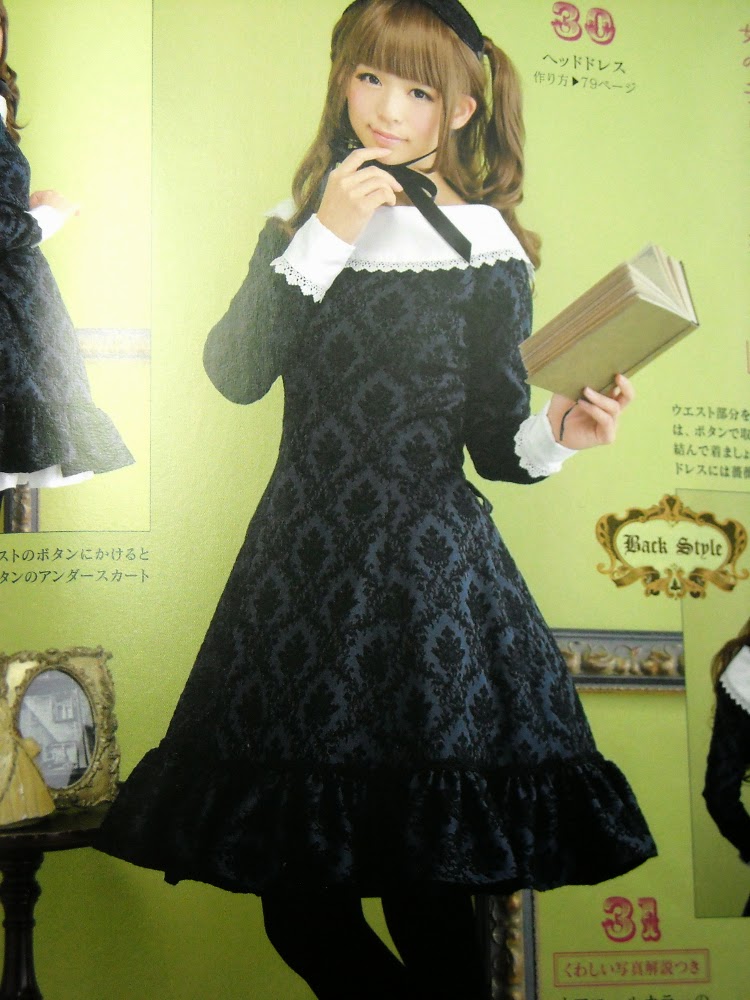
So I came across this little darling.


Very simple lines and of course perfect for the office.  I have to make it!

Fabric

Since I went a little bit overboard in buying the blue summer weight fabric for the parade overskirt I thought it might be a nice idea to use up this fabric first.  I mean it is lovely fabric and wouldn't it be sort of nice to have a set of clothes all made from the same fabric.

Design

As I said before I love the simple lines which appeals to me a lot.  I do love frills but I like my lolita wardrobe to be more suitable for day to day.

The original design in the book was unlined but this was not an option if I was using my blue fabric.  It was very thin so I decided that the version I was going to make was going to be fully lined.

The actual drafting of the pattern was pretty easy apart from the collar.  I had a hard time getting the curve right and in the end I had to cut the pattern out of the book to get it right.  Oh the heartbreak!!!

Construction

All the pieces were cut, sewing was actually quite simple.

The collar was a little tricky as it was only after putting on the collar that I realised that it didn't sit flat on my shoulders.  I suppose that is good really but it does pose a underwear issue!


Unfortunately in my new flat there is no where I can take a picture that looks good.  So after many many many takes this was the best one.


In hindsight I should have put on a petticoat but I didn't feel like it.

Although I love the dress there is one slight problem and that is the sleeves.  When I bend my arms they are a little bit tight but other then that it hangs very nicely.  I have already worn this a couple of times at work so I might make another one with short sleeves for summer!

1 April 2015

Making a Dress - Empire-line Otome dress

Hello peeps

Long time no see!

When was my last post.....oh it was that long ago.... oppps....well things have been very hectic back in Kitty World.  I started a new job back in October 2013 and then in April 2014 I finally managed to get myself back into accountancy.  I tell you one thing, having a job is great on the personal finance side but it does eat away the blogging and crafting time.  Then if that was not enough, I decided to move to my new flat!  Yep I am finally on the property ladder and the best thing to come out of this move is my new crafting room!

Still a little messy but you should have seen it before the racking.

Anyway since the big move I have finally gotten round to making my empire line otome dress.

There was a slight change of plan with the fabric since it dawned on me that I do not have a blue and white yukata so I spent the next 2 weeks trying to find a suitable alternative and eventually I did.

It is a bit more bluer then I wanted but I was so lucky to get the other one that I thought at least this one will not get stained so easily.

Anyway as normal I was going to take progress photos but this was such a simple project that by the time I realised I have not taken a single photo, my dress was almost complete.

Oh well!  So here is the finished dress.


Isn't it adorable?  It is really light and comfy to wear and it is perfect for the office as it is not too frilly to look out of place.

My only complaint with this would be the straps as the fabric is a bit too soft so the hemming did not go very smoothly.  In addition, I decided to use my new hemming machine foot and although it made the hemming work a lot shorter, It created a wavy effect of the edge.  Maybe with a bit of iron it will reduce it but overall I do like the look of the straps.